使用Typecho快速搭建博客系统
系统准备
1
2
3
4
|
# 安装nginx, php
apt install nginx php
# 安装php的 sqlite及 curl
apt install php7.0-sqlite3 php7.0-curl
|
博客搭建
在官网TypechoDownload下载下来,放到自己网站的根目录。
 1
 2
 3
 4
 5
 6
 7
 8
 9
10
11
12
13
14
15
16
17
18
19
20
21
22
23
24
|
server {
    listen 80 default_server;
    root /home/www;
    index index.html index.htm index.php;

    server_name domain.com;

    location ~ .*\.php(\/.*)*$ {
            include snippets/fastcgi-php.conf;
            set $path_info "";
            set $real_script_name $fastcgi_script_name;
            if ($fastcgi_script_name ~ "^(.+?\.php)(/.+)$") {
                    set $real_script_name $1;
                    set $path_info $2;
            }
            fastcgi_param SCRIPT_FILENAME $document_root$real_script_name;
            fastcgi_param SCRIPT_NAME $real_script_name;
            fastcgi_param PATH_INFO $path_info;

            fastcgi_pass unix:/run/php/php7.0-fpm.sock;
            include fastcgi_params;
    }

}
|
1
2
3
4
5
6
7
8
|
# 关闭php
# service php7.0-fpm stop
# 启动php
# service php7.0-fpm start
# 重启php
service php7.0-fpm restart
# 重载nginx
nginx -s reload
|
配置博客
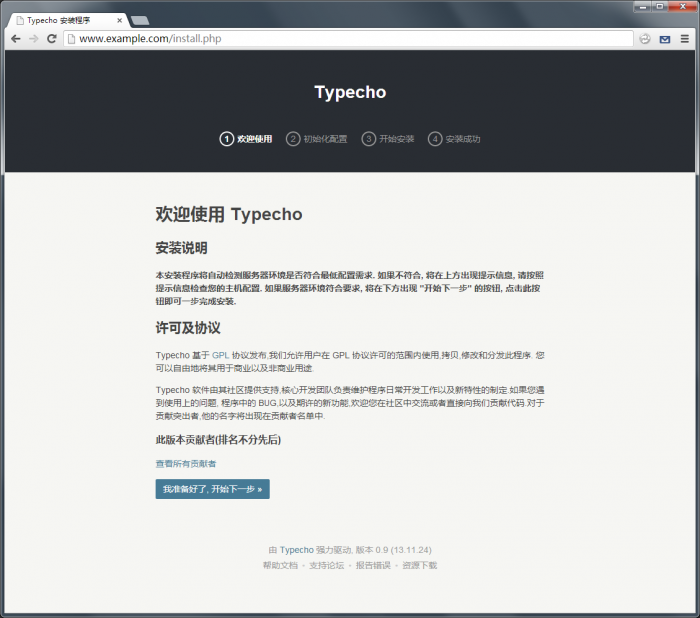
- 使用浏览器直接访问安装目录即可看到Typecho的安装程序。恭喜,你的服务器可以完美支持typecho,点击进入下一步。
- 按照程序安装向导的要求填写相关服务器参数和初始化设置信息,完成后点击下一步。
** 参考链接安装教程 **
** 官方错误参考Nginx配置 **